How Long Does Self Leveling Concrete Take To Dry – Guide
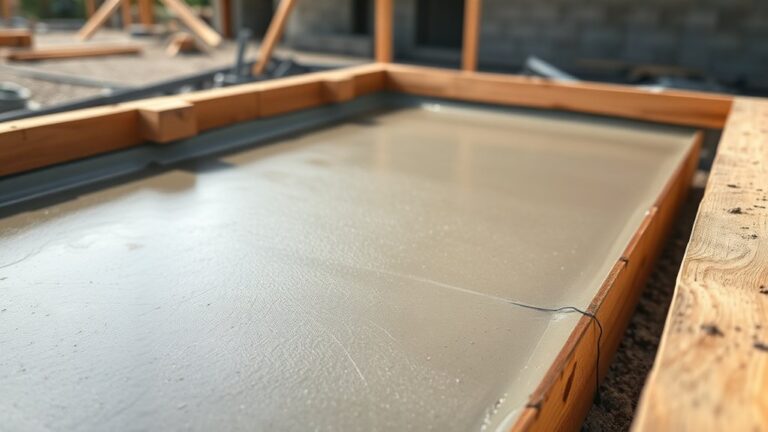
Self-leveling concrete becomes walkable within 4 to 8 hours, but full drying and curing take about 7 days, depending on thickness and conditions. Thinner layers dry faster, while thicker ones need longer to avoid moisture entrapment. Proper temperature (70°F–75°F), low humidity, and ventilation speed curing and prevent cracks.
Make sure to test moisture before installing any flooring on top. If you want to guarantee a flawless finish and understand timing nuances, there’s more to take into account for the best results. Just keep these factors in mind, and you’ll be on the right track.
How Long Does Self-Leveling Concrete Take to Set and Become Walkable?
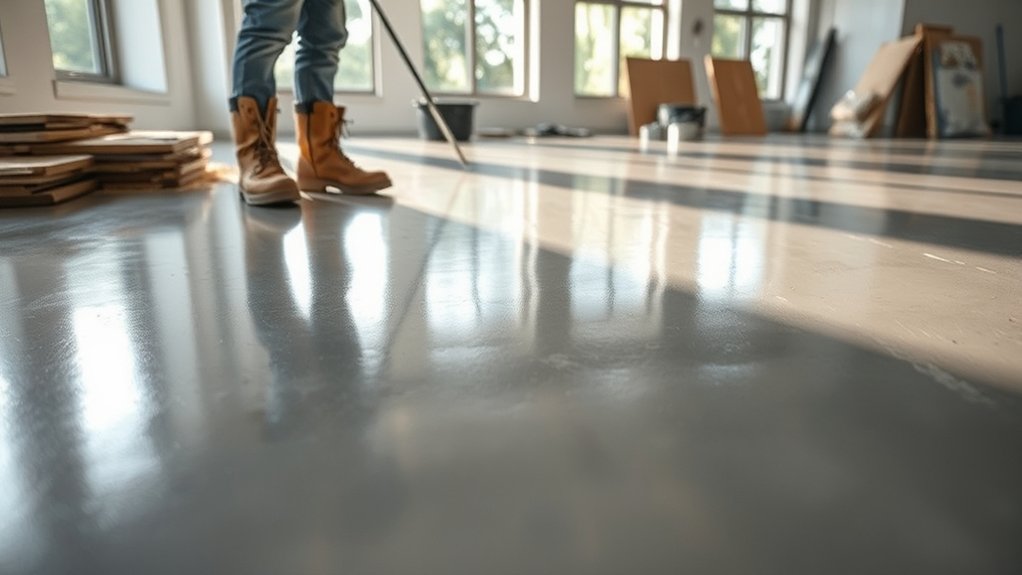
Although self-leveling concrete sets quickly, you can usually walk on it within 4 to 8 hours under ideal conditions. After application, the surface becomes walkable as the material reaches its initial set, allowing light foot traffic without damage.
Keep in mind, full curing takes about 7 days to achieve maximum strength and durability. The time it takes to become walkable depends largely on layer thickness and environmental conditions.
But manufacturers generally advise waiting at least 24 hours before exposing the surface to heavy traffic or applying flooring finishes.
What Factors Affect Drying and Curing Time?
You’ll find that environmental conditions like temperature, humidity, and airflow play a big role in how quickly self-leveling concrete dries and cures.
For example, warmer temperatures and good airflow usually speed things up, while high humidity can slow the process down.
Then there’s the mixture itself. Whether it’s cement-based, epoxy, or polyurethane, the type of mix you use directly affects drying time and the final strength of the material.
Knowing these details can really help you get the curing process just right.
Environmental Conditions Impact
When environmental factors shift, they directly influence how quickly self-leveling concrete dries and cures. Higher temperatures above 70°F speed up curing times, while colder conditions below 50°F slow the process considerably.
Humidity plays a vital role; levels above 60% trap moisture, extending drying times by preventing evaporation.
You should guarantee proper ventilation to remove excess moisture and accelerate curing. Stagnant air increases humidity around the concrete, delaying drying.
Moreover, environmental conditions like wind and sunlight impact drying. Moderate exposure helps, but excessive wind or direct sun can cause uneven curing.
Keep these factors in mind to control the curing environment effectively. Managing humidity, ventilation, and temperature ensures the best drying times and a durable, properly cured self-leveling concrete surface.
Mixture Composition Effects
Environmental conditions play a vital role in drying times, but the mixture composition directly shapes how self-leveling concrete behaves as it cures. The water-to-cement ratio is essential. Higher ratios increase moisture content, which extends drying and curing time. You should carefully balance this ratio to avoid prolonged drying.
Additives like polymers and accelerators can considerably speed up curing time by enhancing chemical reactions and promoting faster setting. The type and amount of cement used also influence how quickly the material hardens.
Keep in mind, while environmental factors affect drying externally, the internal chemical makeup dictated by the mixture composition ultimately determines the concrete’s setting speed.
Adjusting these elements allows you to control drying durations precisely. This helps ensure efficient project timelines without compromising quality.
How Does Thickness Influence Drying Time?

How much does thickness affect drying time? The thicker your self-leveling concrete, the longer it takes to dry. This happens because increased thickness traps moisture inside, slowing evaporation and extending curing.
The inner layers take more time to lose moisture and stabilize, so you must plan drying time accordingly. Proper curing becomes vital with greater thickness to guarantee thorough drying.
| Thickness | Typical Drying Time | Notes |
|---|---|---|
| ¼ inch (6 mm) | 4 to 8 hours | Quick moisture release |
| ½ inch (12 mm) | 12 to 16 hours | Moderate drying time |
| 1.5 inches (38 mm) | 24+ hours | Moisture trapped; slower curing |
Keep thickness in mind to manage drying time efficiently and achieve maximum curing results.
Why Do Temperature and Humidity Matter for Drying?
Why do temperature and humidity have such a significant impact on drying self-leveling concrete? Temperature directly affects the chemical reactions during curing. Ideal curing happens between 70°F and 77°F. When it drops below 50°F, hydration slows drastically, which extends drying time and weakens the strength.
Humidity plays a critical role as well. When humidity goes over 60%, excess moisture sticks around, slowing evaporation and making drying take longer. This can increase the chances of surface defects like bubbles or cracking.
High humidity messes with proper curing because it stops moisture from escaping efficiently.
To make sure your self-leveling concrete dries on time and reaches maximum strength, you need to keep temperature and humidity under control. Ignoring these factors can lead to longer drying periods, weaker durability, and poor surface quality.
How Does Subfloor Priming Speed Up Drying?

Although it might seem like an extra step, priming your subfloor considerably speeds up the drying of self-leveling concrete by reducing surface porosity and creating a moisture barrier. Priming seals the surface, regulating moisture evaporation and preventing excessive loss that could otherwise prolong drying.
This moisture barrier ensures a more controlled curing process, allowing the concrete to dry uniformly and faster.
Plus, priming enhances adhesion between the subfloor and the concrete, minimizing the risk of delamination that can delay curing.
By improving surface bonding and moisture management, you help the self-leveling concrete reach a dry, walkable state more quickly.
In the end, proper priming not only accelerates drying but also supports a durable, well-cured finish that’s essential for long-term performance.
How Can You Tell When Self-Leveling Concrete Is Fully Cured?
You’ll know self-leveling concrete is fully cured when the surface feels dry to the touch—no tackiness at all. It should also have a consistent color and not show any shiny or wet-looking spots.
If you want to be extra sure, grab a moisture meter and check that the readings match what the manufacturer recommends.
When you combine these visual signs with a good moisture test, you can confidently say the concrete is completely cured.
Visual Cues
When evaluating whether self-leveling concrete has fully cured, you should look for specific visual and tactile cues. One key visual cue is the disappearance of any surface sheen or gloss. A fully cured surface loses this initial glossiness as it dries.
You’ll also notice the concrete’s hardness. After 24 to 72 hours, it should feel solid and resist indentation from light foot traffic without leaving marks. The surface won’t feel tacky or sticky to the touch, which confirms it’s adequately dried.
Furthermore, minimal or no cracks and surface imperfections indicate the curing process is complete. This means the material has reached its final strength.
Moisture Testing
Since visual cues alone may not reveal the full moisture content, you need to depend on moisture testing to confirm self-leveling concrete is fully cured. Moisture testing typically involves measuring the internal RH level using an in-situ probe inserted into drilled holes. This method provides accurate readings of the slab’s humidity, unlike surface moisture checks, which can be misleading.
Industry standards consider the concrete fully cured when the RH level falls below 75% or moisture vapor emission rates (MVER) drop under 4 pounds per 1,000 square feet per 24 hours. To verify reliability, perform moisture testing after the minimum curing time, usually 72 hours or more.
This approach safeguards against premature finishing applications, ensuring the slab’s durability and performance.
How Can You Prevent Cracking During Drying?
Although self-leveling concrete offers a smooth finish, preventing cracking during drying requires careful control of temperature, moisture, and curing conditions. You can minimize cracks by managing the drying process with these steps:
- Maintain a consistent temperature between 70°F and 75°F to ensure even curing.
- Apply a curing compound or cover the surface with plastic sheeting for moisture retention, reducing shrinkage.
- Control airflow and avoid direct sunlight to prevent rapid drying and surface tension cracks.
- Mix and pour the concrete promptly and wait the full curing period before applying any load or finish.
Following this approach guarantees uniform curing, reduces stress, and protects your self-leveling concrete from cracks during the drying process. It’s all about being patient and keeping conditions just right.
That way, your concrete will dry strong and smooth without any unwanted cracks.
Can You Safely Speed Up Drying Time?
Managing temperature and moisture carefully helps prevent cracking during drying. You might wonder if you can safely speed up the process without compromising quality.
Careful temperature and moisture control prevents cracking and ensures quality during drying.
You can reduce drying time by maintaining ideal conditions. Keep temperature between 70-75°F and humidity levels below 60% during the curing time. Using fans and dehumidifiers boosts air circulation and moisture removal, which accelerates drying.
However, applying curing compounds or plastic sheeting helps retain moisture and prevents cracks from rapid evaporation.
Adding accelerators to the mix can shorten drying time, but use them cautiously since they may weaken strength or affect finish quality.
Also, proper surface preparation and following manufacturer mixing instructions ensure uniform, quicker drying. Balancing these factors lets you safely expedite curing without sacrificing durability or appearance.
What Steps Should You Take After the Concrete Has Dried?
After the self-leveling concrete has dried, you must wait at least 24 hours before walking on it or applying any finishes to guarantee full curing.
Next, focus on guaranteeing a dry surface to promote proper adhesion. Follow these steps to prepare the concrete:
- Thoroughly clean the surface, removing dust, debris, and curing compounds.
- Test the moisture content with an MVER test or humidity meter; aim for below 4 lbs MVER or 75% RH.
- Confirm the surface is completely dry, as residual moisture can weaken adhesion.
- Follow manufacturer guidelines for drying times before installing flooring like epoxy, tile, or carpet.
These measures ensure maximum adhesion and durability of your finishes over the self-leveling concrete.
Frequently asked questions
Can Self-Leveling Concrete Be Applied Over Existing Tile Floors?
Yes, you can apply self-leveling concrete over existing tile floors if the tiles are solid and undamaged. You’ll need to clean, degrease, and mechanically profile the surface to guarantee good adhesion.
Make sure to remove any loose tiles before you start. Then, use a compatible primer or bonding agent to prevent delamination.
Proper preparation is key to getting a durable, smooth finish that bonds well to your tile substrate.
Is Self-Leveling Concrete Suitable for Outdoor Use?
You can absolutely trust self-leveling concrete for your outdoor projects, as long as you pick a formula designed for exterior use. These mixes cleverly resist the tricks of weather, like freeze-thaw cycles and moisture, so your surface stays strong.
Just remember to cure it properly and seal it with a weatherproof finish. That way, your patio or driveway won’t just look great but will stand the test of time and nature’s moods.
What Tools Are Needed to Apply Self-Leveling Concrete?
You’ll need a rotary drill with a paddle attachment to mix the self-leveling concrete thoroughly and avoid lumps.
Use a gauge rake or squeegee to spread the mixture evenly.
A laser level or straightedge helps you maintain a flat surface.
After pouring, roll a spiked roller over the concrete to eliminate air bubbles and improve adhesion.
You won’t need trowels since the concrete flows and levels itself naturally.
It’s pretty handy that way!
How Much Self-Leveling Concrete Is Required per Square Foot?
You’ll need about 0.75 to 1 cubic foot of self-leveling concrete per 100 square feet at a ¼-inch thickness. Think of it like spreading a thin blanket over your floor.
For thicker layers, like 1 inch, one 50-pound bag covers roughly 0.5 to 0.6 square feet.
Always multiply your area by the thickness in inches, then convert to cubic feet.
This precise approach guarantees you’ve got enough material to finish the job smoothly.
Can Self-Leveling Concrete Be Painted or Sealed Afterward?
Yes, you can paint or seal self-leveling concrete, but only after it’s fully cured and moisture levels drop below recommended limits. If you apply paint or sealer too soon, you risk trapping moisture, causing peeling or bubbling.
Make sure you clean and prime the surface properly before application. Using compatible sealers like epoxy, polyurethane, or acrylic will help guarantee strong adhesion and long-lasting protection.
Just take your time with the prep, and your finish will look great and last longer.
Final Thought
Think of self-leveling concrete drying like a sunrise. It’s steady, patient, and transformative. You can’t rush the glow without risking cracks or weakness.
By understanding factors like thickness, temperature, and priming, you guarantee a smooth, solid foundation ready to support your next steps. Respect the process and watch for full curing.
Your floor will stand strong, a reliable canvas for whatever comes next. It will shine with durability and precision.
More Pouring & Curing Guides
Need Concrete in Greater Cleveland?Tri County Concrete delivers ready mix from plants in North Royalton and Twinsburg, Ohio. Request a quote or call 440-582-1100.