How To Mix Concrete – Easy Guide
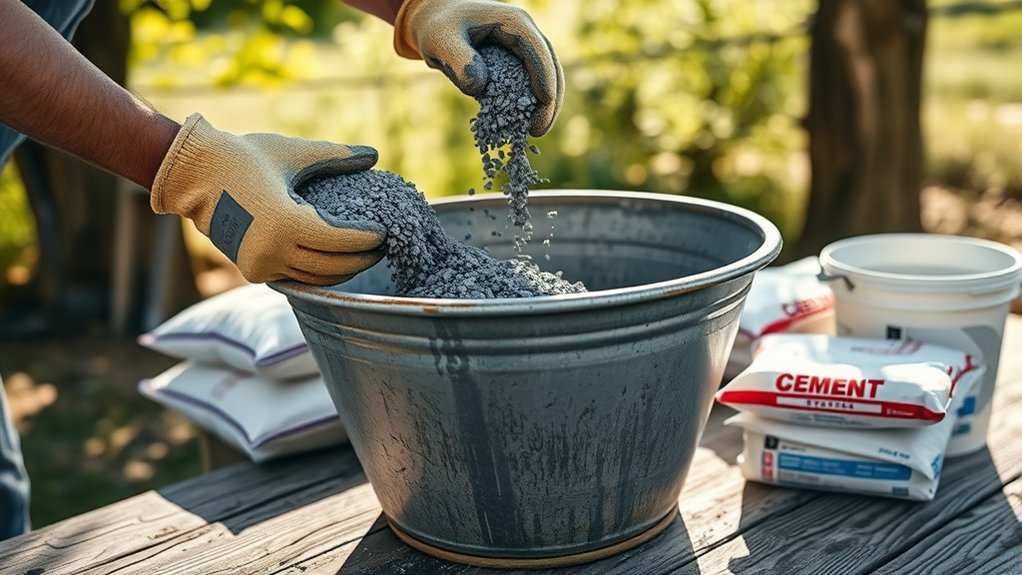
To mix concrete easily, start by wearing safety gear and gathering your tools. Measure cement, aggregates, and water precisely. Use a mixer to combine them. Add two-thirds of the water first, mixing thoroughly before adding the rest.
Adjust the water to get a thick, oatmeal-like consistency. You can add color if you want to. Pour in reinforcement and vibrate the concrete to remove air bubbles.
Cover it immediately to retain moisture and cure for at least a week. Keep going and practice each step to get durable results. You’ll get the hang of it in no time!
Gather Tools and Safety Gear for Mixing Concrete
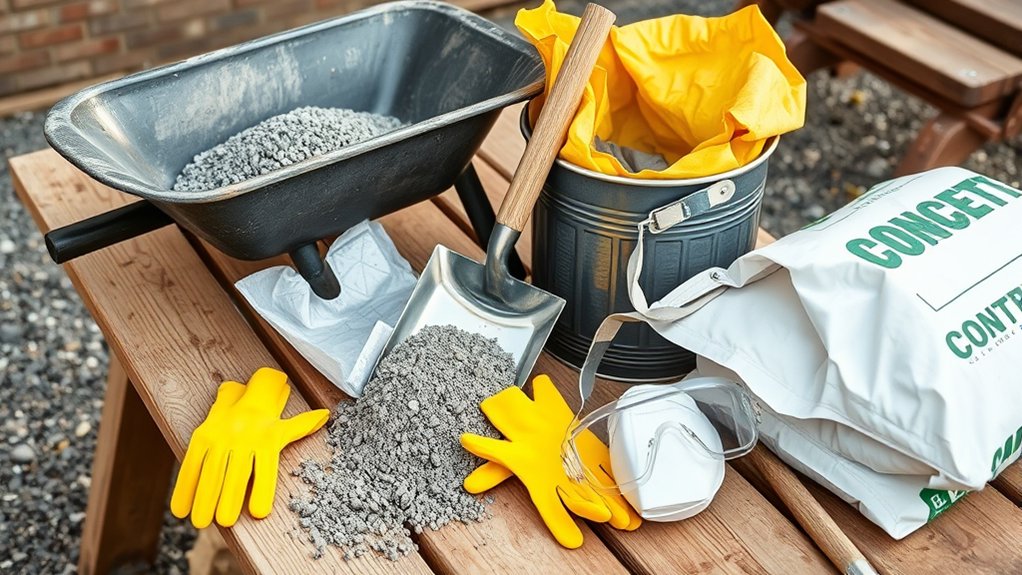
Before you start mixing concrete, make sure you’ve gathered all the necessary tools and safety gear. Proper safety gear is essential: wear safety goggles and a dust mask to protect your eyes and lungs from dust and debris. Use waterproof gloves to shield your skin from irritation and chemical burns caused by cement.
Check that your safety gear fits well and is in good condition for effective protection.
Alongside safety gear, collect all your tools before you begin. This includes a mixer or mixing container, a wheelbarrow for transport, and measuring buckets to handle your ingredients efficiently. Having everything ready streamlines your workflow and reduces risks during mixing.
Also, ensure your workspace is well-ventilated to disperse dust and fumes safely while you work.
Measure Cement, Aggregates, and Water Accurately
When you measure cement, aggregates, and water accurately, you guarantee your concrete mix achieves the right strength and consistency. Use a graduated bucket or measuring container to get precise water amounts, typically about 3 quarts per 80-pound bag of cement.
Measure dry aggregates like sand and gravel based on your mix ratio, usually 60-80% of the total volume. Always follow the manufacturer’s instructions for cement and aggregate proportions to ensure durability.
Check your measurements with each batch to avoid weak or overly dry concrete.
Only add liquid cement color or additives after measuring and mixing water and dry ingredients accurately. Sticking to these steps helps you create a reliable concrete mix every time.
It’s worth taking the time to measure carefully—it really makes a difference!
Mix Concrete Properly Using a Mixer
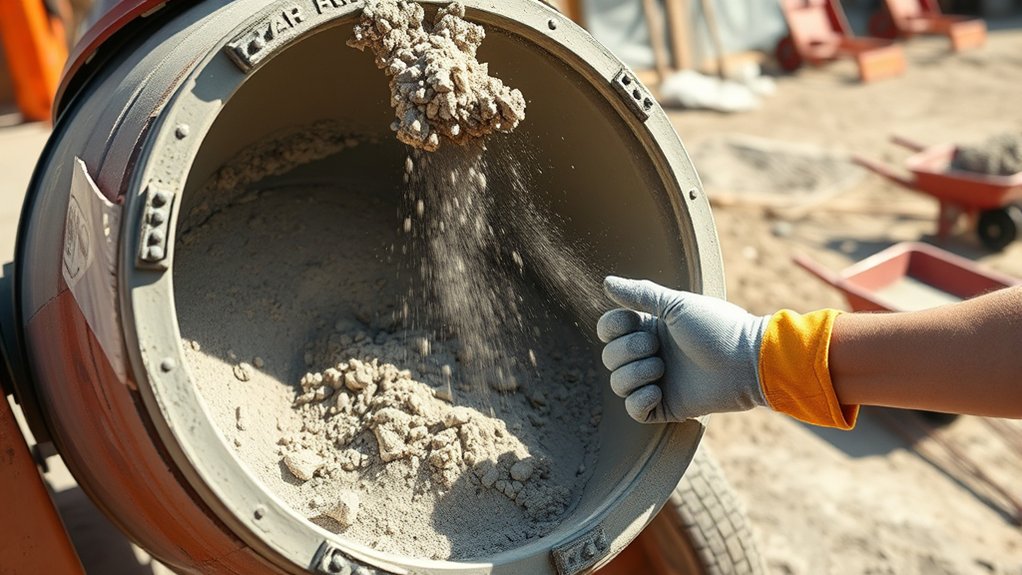
To get started, set up your paddle mixer with high torque but keep the speed low. This way, you’ll blend all the ingredients thoroughly without making a mess or splashing around.
Begin by pouring in about two-thirds of the water. Then, slowly add the rest while mixing, so you end up with a smooth and workable consistency.
Also, make sure to use a bucket that’s big enough to avoid any spills.
And if you notice any air pockets in the drum, just tap it gently with a rubber mallet to get rid of them. Easy!
Mixer Setup Essentials
Although mixing concrete may seem simple, using the right mixer and setup is essential for a consistent batch. Choose a sturdy, properly rated paddle mixer with enough power for your project. Add water gradually. Start with about two-thirds of the recommended amount and mix for at least 3 minutes to blend the concrete mixture thoroughly.
Use a graduated container to pre-measure water and mark levels for quick refills. Make sure the mixer’s paddles pull material from bottom to top, ensuring even ingredient distribution. Always cover the mixer opening to reduce dust, and wear goggles and gloves for safety.
| Setup Step | Key Tip |
|---|---|
| Mixer Selection | Choose proper size and power |
| Water Addition | Add gradually, mix 3+ minutes |
| Safety Precautions | Cover opening, wear protective gear |
Achieving Correct Consistency
Getting the right consistency in your concrete mix makes all the difference between a durable finish and a weak one. When mixing concrete, aim for a water/cement ratio that lets the mix hold together when shaped into a ball but crumble under light pressure.
Too much water weakens the concrete and makes it soupy, while too little makes it dry and prone to cracking.
Start mixing concrete in your mixer for about three minutes. Then gradually add the remaining water over the next minute. This helps you control the consistency, which should resemble thick oatmeal—uniform and workable.
Adjust the water as needed to keep the mix neither too wet nor too dry. Achieving this balance ensures ideal strength and ease of finishing in your concrete project.
Adjust Water and Add Color to Your Concrete Mix
Start by measuring your water carefully to keep the concrete strong and workable. It’s important to get this right so your mix isn’t too dry or too wet.
Next, add liquid cement color directly to the mixing water before you combine it with the dry mix. This helps give you an even, consistent shade throughout.
Make sure to mix everything thoroughly to avoid streaks and get the exact color you want.
Water Measurement Tips
Three quarts of water per 80-pound bag is the standard amount you’ll want to measure for a strong concrete mix. Getting your water measurement right is essential since too much water weakens the final product.
Here’s how to stay on track: use a graduated bucket with clear markings to measure water precisely every time. Add water gradually during mixing to reach a workable consistency without making it soupy.
Also, avoid exceeding the recommended amount. Each extra quart can reduce strength by up to 40%. So, it’s really worth measuring carefully!
Incorporating Liquid Color
How do you achieve an even color throughout your concrete mix? Start by adding liquid color directly to the mixing water before combining it with the dry ingredients. This guarantees uniform coloration and prevents streaks or uneven patches.
Use only a few ounces of liquid color per 80-pound bag of concrete, following the manufacturer’s recommended dosage. Since adding liquid color slightly changes the water-to-cement ratio, adjust the water amount carefully to maintain the right consistency and strength.
Mix the colored water thoroughly with the dry mix to distribute color evenly.
Add Reinforcement Materials for Stronger Concrete
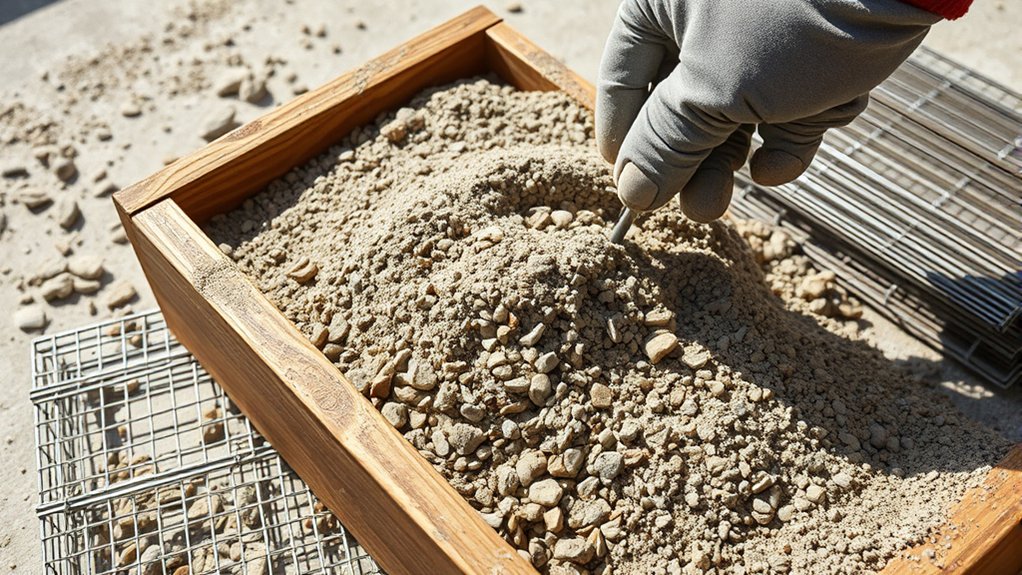
Although concrete is strong in compression, it struggles with tensile forces. So, you’ll need to add reinforcement materials like steel rebar or fiberglass fibers to prevent cracking and boost durability.
Concrete excels under compression but requires reinforcement like rebar or fibers to handle tension and prevent cracks.
When you prepare your mixed concrete, follow these steps to guarantee strength:
- Position and secure steel reinforcement, such as rebar or mesh, before pouring to resist tensile stress effectively.
- Mix fiberglass fibers throughout the concrete for added tensile strength without worrying about rust or corrosion.
- Use coated or sealed steel reinforcement to reduce corrosion risk. Just remember, cracks can still let water in over time.
Properly incorporating reinforcement materials in your mixed concrete enhances durability and load-bearing capacity. This makes your project last longer and perform better.
How To Prepare Your Site For A Concrete Pour
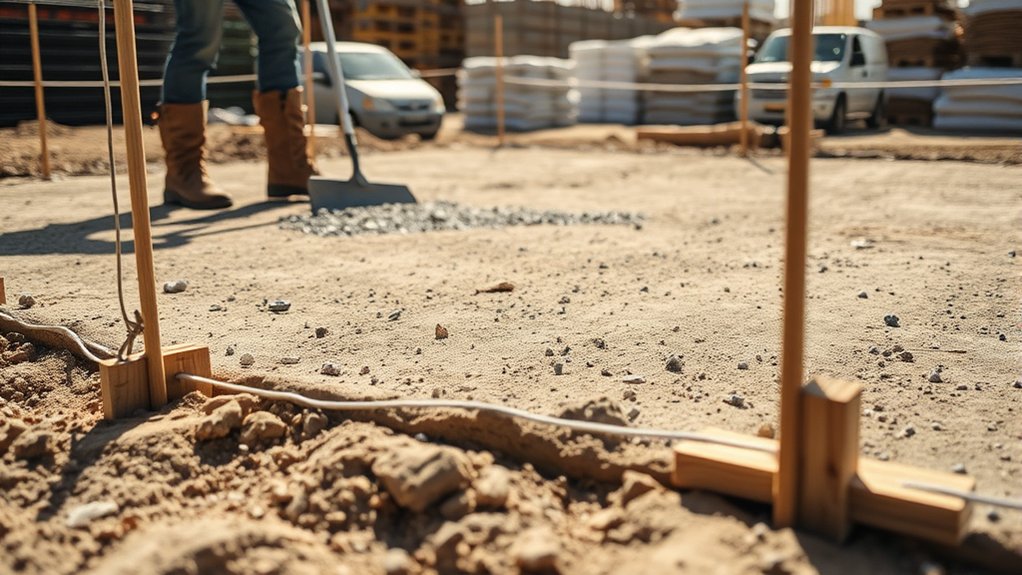
Before you start pouring concrete, you need to prepare your site thoroughly by clearing all grass, roots, rocks, and debris to guarantee a stable surface.
Next, call 811 or visit call811.com to identify and mark underground utilities before you excavate.
Excavate the area to the required depth, typically 4-6 inches, making sure the subgrade is level and well-compacted.
Then, add a 3-4 inch gravel base layer and tamp it down firmly. This helps promote drainage and provides solid support.
Finally, install formwork using sturdy forms, stakes, and braces to accurately define the slab’s shape and dimensions.
Proper site preparation, including excavation, a level gravel base, and precise formwork setup, is essential for a durable, high-quality concrete pour.
How To Build And Secure Concrete Forms
After preparing your site with a level gravel base and well-defined excavation, the next step is to build and secure the concrete forms that will shape your slab.
Start by positioning the concrete forms precisely along the scored excavation lines. Use stakes placed every two feet to anchor the forms firmly.
Position concrete forms exactly on scored lines, securing them firmly with stakes every two feet for stability.
Drive the stakes deep enough to secure the forms against pressure from wet concrete.
Fasten the boards tightly with nails or screws to maintain rigidity.
Use a carpenter’s level to confirm that the forms are level and square on all sides.
Trim any stakes extending above the forms to prevent interference during pouring.
Throughout setup, regularly check the forms’ alignment and adjust stakes as needed to prevent shifting or bulging.
This way, you’ll ensure a stable, level framework for your concrete slab.
Pour and Vibrate Concrete to Remove Air Bubbles
When you pour concrete, vibrating it right away helps settle the mixture and push out trapped air bubbles. This step is super important for creating a dense, strong finish.
For smaller molds, gently tapping or slapping the form with a rubber mallet works well to dislodge air pockets.
On larger jobs, using power tools like orbital vibrators ensures thorough compaction and minimizes surface voids.
Proper vibrating reduces surface bubbles that can weaken both the appearance and structural integrity. Always vibrate the concrete adequately during placement to promote uniform density and improve overall durability.
Skipping or rushing this process risks leaving air bubbles that compromise your project’s strength and finish.
Leveling Concrete With Screeding And Floating
When you pour concrete, screeding immediately follows to level the surface by removing excess material and aligning it with the form edges using a straightedge or board. This step guarantees the concrete is even and sets the foundation for a smooth finish.
After screeding, wait until the concrete firms enough to support your weight without leaving deep impressions. Then, use a magnesium or steel float to perform floating, which smooths the surface further and embeds aggregate for a dense, uniform finish.
Apply long, sweeping passes during floating to achieve a flat, consistent surface. Proper timing and precise technique during screeding and floating prevent surface imperfections and ensure a durable, level slab ready for subsequent finishing steps.
Adding Concrete Control Joints To Prevent Cracks
You’ll want to add control joints to your concrete to manage shrinkage and prevent random cracks. It’s best to cut these joints while the concrete is still plastic, usually within 6 to 18 hours after pouring.
To do this, use a groover or saw to create joints that are about one-quarter the thickness of the slab.
Make sure your cuts are precise and evenly spaced for the best results.
Purpose Of Control Joints
Although concrete is strong and durable, it naturally shrinks and expands with temperature changes. This causes stress that leads to cracking. Control joints are intentional gaps placed in the concrete slab to manage this cracking.
Their proper placement, usually at one-fourth the slab’s depth, guides cracks to form along these joints. This prevents random cracking. Doing so maintains the slab’s structural integrity and appearance.
| Aspect | Purpose | Method of Implementation |
|---|---|---|
| Control Joints | Direct cracking to joints | Sawed or grooved while plastic or hardened |
| Cracking | Prevent random, unsightly cracks | Controlled by joint placement |
| Concrete Slab | Shrinkage and temperature stress | Managed by joint depth and spacing |
| Placement | Critical for effectiveness | Typically 1/4 slab depth |
Proper control joint placement is essential for durable, crack-resistant concrete slabs. It really makes a difference in how long your slab lasts and how it looks over time.
Timing For Cutting Joints
Because proper timing is critical, you must cut control joints within 6 to 18 hours after pouring the concrete to prevent random cracking. Cutting joints too early, before the fresh concrete gains sufficient strength, risks uncontrolled cracking or spalling.
On the other hand, waiting until the concrete hardens reduces the joints’ effectiveness in controlling cracks. You’ll figure out the best timing by checking factors like temperature, humidity, and the concrete mix.
Typically, you cut joints when the concrete is firm enough to support the saw blade without raveling. This precise timing lets the joints handle shrinkage and thermal movement effectively, which helps minimize surface cracking in the finished slab.
Tools For Joint Creation
Proper timing sets the stage for effective joint creation, but selecting the right tools is just as important to make sure control joints perform as intended. Use a groover or control joint cutter with adjustable depth settings to ensure cuts reach at least one-quarter to one-third of the slab thickness.
Mark joint locations during the plastic stage for precise placement. Keep consistent pressure during cutting to produce clean, uniform control joints that manage concrete shrinkage stresses well.
For large slabs, space joints every 8 to 12 feet to help minimize cracking.
| Tool Type | Purpose |
|---|---|
| Groover | Creates shallow, clean control joints |
| Control Joint Cutter | Cuts deeper joints to specified depth |
| Pencil/Chalk | Marks joint positions accurately |
| Depth Gauge | Ensures consistent cutting depth |
Surface Finishing Techniques For Concrete Slabs
When you finish a concrete slab, choosing the right surface technique directly impacts its durability and safety. Surface finishing methods like broom finishing, troweling, and sealing optimize performance based on application.
Use broom finishing to create a non-slip texture by dragging a stiff-bristled broom across the slab, enhancing traction for outdoor or wet areas.
Broom finishing adds essential traction by creating a non-slip surface, perfect for outdoor and wet environments.
Troweling produces a smooth, dense surface suitable for indoor flooring or polished finishes. Timing is critical; apply these techniques when the concrete is firm enough to support tools without causing damage.
After finishing, apply a concrete sealant to protect the surface from stains, water penetration, and wear. This sealing step extends the slab’s lifespan while maintaining its appearance and structural integrity.
Mastering these methods ensures a durable, safe concrete surface. It’s all about choosing the right finish for the right job and applying it at the right time.
Cover and Cure Concrete for Lasting Durability
To guarantee your concrete develops lasting strength, you need to cover and cure it properly right after placement. Covering the surface with plastic sheets or damp burlap locks in moisture, which is essential for hydration. Without this, your concrete won’t reach its full durability.
Properly covering concrete immediately after placement is essential to lock in moisture and ensure lasting strength.
Here’s what you want to do: cover the concrete immediately with plastic or damp burlap to keep the moisture in. Then, mist the surface daily with water so it doesn’t dry out too fast.
Make sure to cure the concrete for at least 7 days, but ideally, you’ll extend that to 28 days for maximum strength.
Proper curing prevents cracks caused by rapid evaporation, especially in hot or windy conditions. This ongoing hydration process ensures your concrete achieves lasting durability and peak compressive strength.
It’s really the key to making your concrete stand the test of time.
Frequently asked questions
Can I Use Concrete Mix for Indoor Flooring?
Yes, you can use concrete mix for indoor flooring. Just make sure you choose a fine, smooth mix and pour it carefully. Reinforce it properly and keep the water-to-cement ratio balanced to guarantee strength.
After pouring, cure the concrete by keeping it moist to prevent cracks.
Once it’s dry, seal the surface to boost durability and resist stains. Following these steps will help you get a strong, attractive indoor floor.
How Long Does Concrete Take to Fully Cure?
You might think concrete cures overnight like magic, but it actually takes about 28 days to fully cure and reach maximum strength. Don’t rush it. Handling the concrete too soon can weaken it.
After 48 hours, it’s firm enough to walk on, but the real hardening happens over weeks. Keep it moist and protect it from extreme weather to guarantee it cures properly and lasts long.
What Is the Best Temperature for Mixing Concrete?
The best temperature for mixing concrete is between 50°F and 77°F (10°C to 25°C).
You want to avoid temperatures below 40°F since cold slows the curing process and risks weak spots.
Hot weather above 85°F can cause quick water evaporation, leading to cracking.
To get strong, durable concrete, mix it in that ideal range.
Or, you can adjust by using cooler water or mixing early in the morning when it’s cooler outside.
This way, you help the concrete cure properly and last longer.
Can Leftover Concrete Mix Be Stored for Later Use?
You can store leftover concrete mix, but you’ve got to keep it moist and covered tightly to prevent it from drying out. Use an airtight container or plastic sheeting, and try to use it within a few hours.
If the mix hardens or dries, don’t reuse it, as that’ll weaken your project. Also, avoid using stored mix for structural jobs since it won’t reach the strength you need.
How Do Weather Conditions Affect Concrete Setting Time?
Just like a medieval knight can’t rush a joust, you can’t speed up concrete setting without consequences. Hot weather makes concrete set faster, but if you’re not careful, it can crack or weaken.
Cold slows the process, delaying strength gain, and freezing can ruin the mix.
High humidity drags out setting time, while low humidity dries it too fast, causing surface cracks.
Adjust your mix and protect it accordingly. It’s all about finding the right balance for the conditions you’re working in.
Final Thought
Mixing concrete might seem tricky, but with the right steps, you can get it right every time. Did you know that properly mixed and cured concrete can last over 100 years? By following these simple tips—measuring accurately, mixing thoroughly, and curing carefully—you’ll guarantee your project is strong and durable.
So grab your tools, follow the guide, and watch your concrete work stand the test of time.
More Concrete Basics Guides
Buying Sand, Gravel or Ready Mix?Portage Aggregate & Supply carries triple-washed sand and gravel, and Tri County Concrete delivers ready mix across Greater Cleveland. Request a quote or call 440-582-1100.